How to Enable SSH on Cisco Switch in 5 Easy Steps (Secure Remote Access Guide)
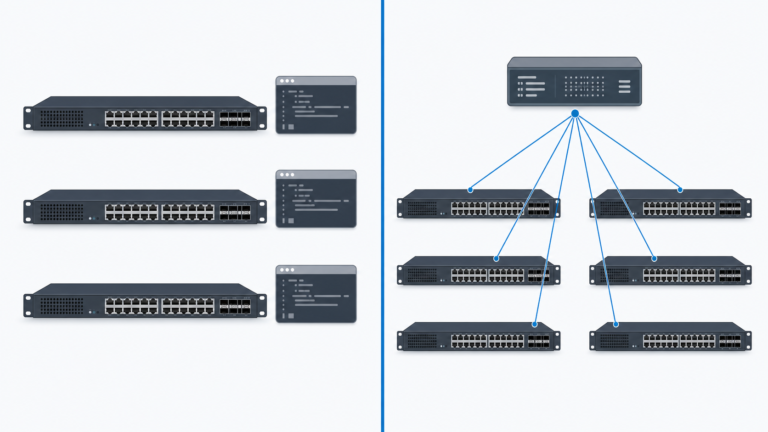
Remote management of Cisco switches is essential for network administrators — but using Telnet exposes your credentials in plaintext.
To secure your device, it’s crucial to enable SSH on your Cisco switch for encrypted, authenticated management.In this guide, you’ll learn how to enable SSH on Cisco switch in 5 simple steps, generate RSA keys, enable SSH version 2, and configure secure remote access.
Enabling SSH is a key part of securing a Cisco switch, but it normally comes after the initial setup steps such as assigning a management IP, preparing VLANs, and confirming basic connectivity. For the complete configuration sequence, see How to Configure a Cisco Switch: Initial Setup.

Why Use SSH Instead of Telnet?
SSH (Secure Shell) replaces Telnet as the secure way to access Cisco devices.
While Telnet sends all commands and passwords in clear text, SSH encrypts all communication using RSA or AES, preventing eavesdropping.
|
Feature |
SSH |
Telnet |
|---|---|---|
|
Encryption |
✔ Yes (RSA/AES) |
✘ No |
|
Default Port |
22 |
23 |
|
Authentication |
Encrypted |
Plaintext |
|
Security Level |
High |
Low |
In short: SSH = Secure, Telnet = Obsolete
Prerequisites Before You Start
Before you enable SSH on your Cisco switch, make sure:
- Your switch has an IP address configured on a VLAN (e.g., VLAN 1).
- You’ve set a hostname and domain name.
- Your IOS version supports SSH (12.1(3)T or higher).
- A local username and password exist for login.
Step 1: Configure Hostname and Domain Name
SSH uses the hostname and domain name to generate RSA keys.
Run the following commands:
Switch> enable
Switch# configure terminal
Switch(config)# hostname Layer23Switch
Layer23Switch(config)# ip domain-name layer23-switch.com
✅ Tip: Keep the hostname and domain short and descriptive — they’ll form your SSH key identity.
Step 2: Create a Local User Account
Create a privileged user for SSH authentication.
Layer23Switch(config)# username admin privilege 15 secret cisco123This creates an admin user with encrypted password storage (secret type 5).
Step 3: Generate RSA Encryption Keys
RSA keys are required for SSH to work.
Use this command to generate them:
Layer23Switch(config)# crypto key generate rsa
How many bits in the modulus [512]: 2048
? Use 2048 bits or higher for strong encryption.
These keys authenticate SSH connections and encrypt all traffic.
Step 4: Enable SSH Version 2 and Configure VTY Lines
Now, enable SSH v2 and restrict access to SSH only:
Layer23Switch(config)# ip ssh version 2
Layer23Switch(config)# line vty 0 4
Layer23Switch(config-line)# transport input ssh
Layer23Switch(config-line)# login local
Layer23Switch(config-line)# exit
Layer23Switch(config)# service password-encryption
✅ This configuration:
- Enables SSH version 2
- Uses local user authentication
- Disables Telnet for improved security
Step 5: Test and Verify SSH Access
From your terminal or SSH client (like PuTTY or SecureCRT):
ssh admin@192.168.1.10You’ll be prompted for the username and password you configured.
Once logged in, verify SSH status:
Layer23Switch# show ip ssh
Layer23Switch# show running-config | include ssh
You should see
ip ssh version 2andtransport input ssh— meaning SSH is active.
Strengthen SSH Security (Recommended)
Even after enabling SSH, you can harden access further.
1. Restrict SSH Access to Trusted IPs
Layer23Switch(config)# access-list 10 permit 192.168.1.0 0.0.0.255
Layer23Switch(config)# line vty 0 4
Layer23Switch(config-line)# access-class 10 in
2. Limit Login Attempts and Timeout
Layer23Switch(config)# ip ssh time-out 60
Layer23Switch(config)# ip ssh authentication-retries 3
3. Disable Unused VTY Lines
Layer23Switch(config)# line vty 2 4
Layer23Switch(config-line)# transport input none
Full Cisco SSH Configuration Example
hostname Layer23Switch
ip domain-name layer23-switch.com
username admin privilege 15 secret cisco123
crypto key generate rsa modulus 2048
ip ssh version 2
line vty 0 4
 transport input ssh
 login local
Now you can securely manage your switch remotely with encrypted SSH sessions.
Common Troubleshooting Tips
|
Problem |
Possible Cause |
Fix |
|---|---|---|
|
“Connection refused” |
SSH not enabled |
Check |
|
“No RSA keys” |
Keys not generated |
Run |
|
“Authentication failed” |
Wrong credentials |
Verify username and secret |
|
“Timeout” |
VLAN IP missing |
Configure |
FAQs About Enable SSH on Cisco Switch
1. Why can’t I SSH into my Cisco switch?
Ensure SSH is enabled, RSA keys are generated, and your VLAN interface has an IP address.
2. How do I disable Telnet and allow only SSH?
Run transport input ssh under line vty 0 4 — this disables Telnet.
3. What SSH version should I use on Cisco switches?
Always use SSH version 2 for better encryption and key exchange security.
4. Can all Cisco switches use SSH?
Most Cisco IOS devices (12.1(3)T and above) support SSH. For older models, upgrade IOS.
5. How to secure SSH access further?
Limit login attempts, set ACLs, and disable unused VTY lines.